
Setting up a Qdrant Cloud Account
Registration as a User
There are different ways to register with Qdrant Cloud:
- With an email address and passwordless login via email
- With a Google account
- With a GitHub account
- By connecting an enterprise SSO solution
Register for a Cloud user with your email, Google, or GitHub credentials. Every user is tied to an email address and will get their own account to create clusters in automatically. Once signed up, you can also create additional accounts or get invited to accounts that other users own.
The Qdrant Cloud Console
Once you sign in, the Qdrant Cloud Console is organized around three areas:
- The left navigation gives you access to your account resources like the account’s clusters, backups, access management, or billing.
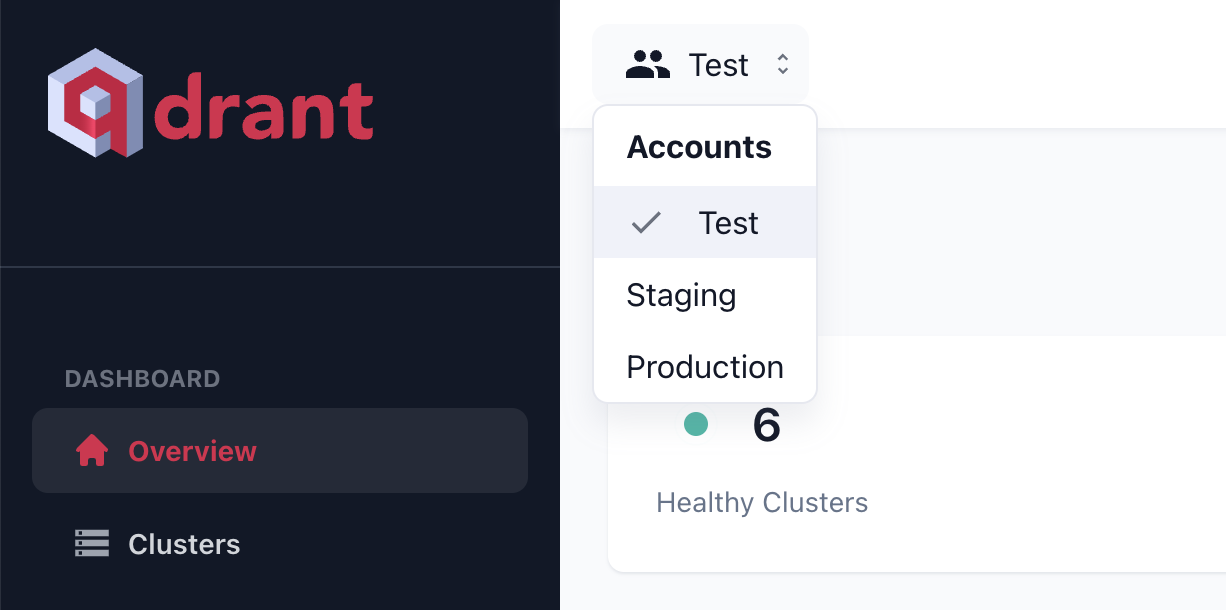
- The account switcher at the top left lets you switch between the accounts you own or have been invited to, create new accounts, and open the accounts overview.
- The user menu at the bottom left contains your personal, user-level options — like your user specific settings, invitations, and the management of your accounts. These are documented on the User Profile page.
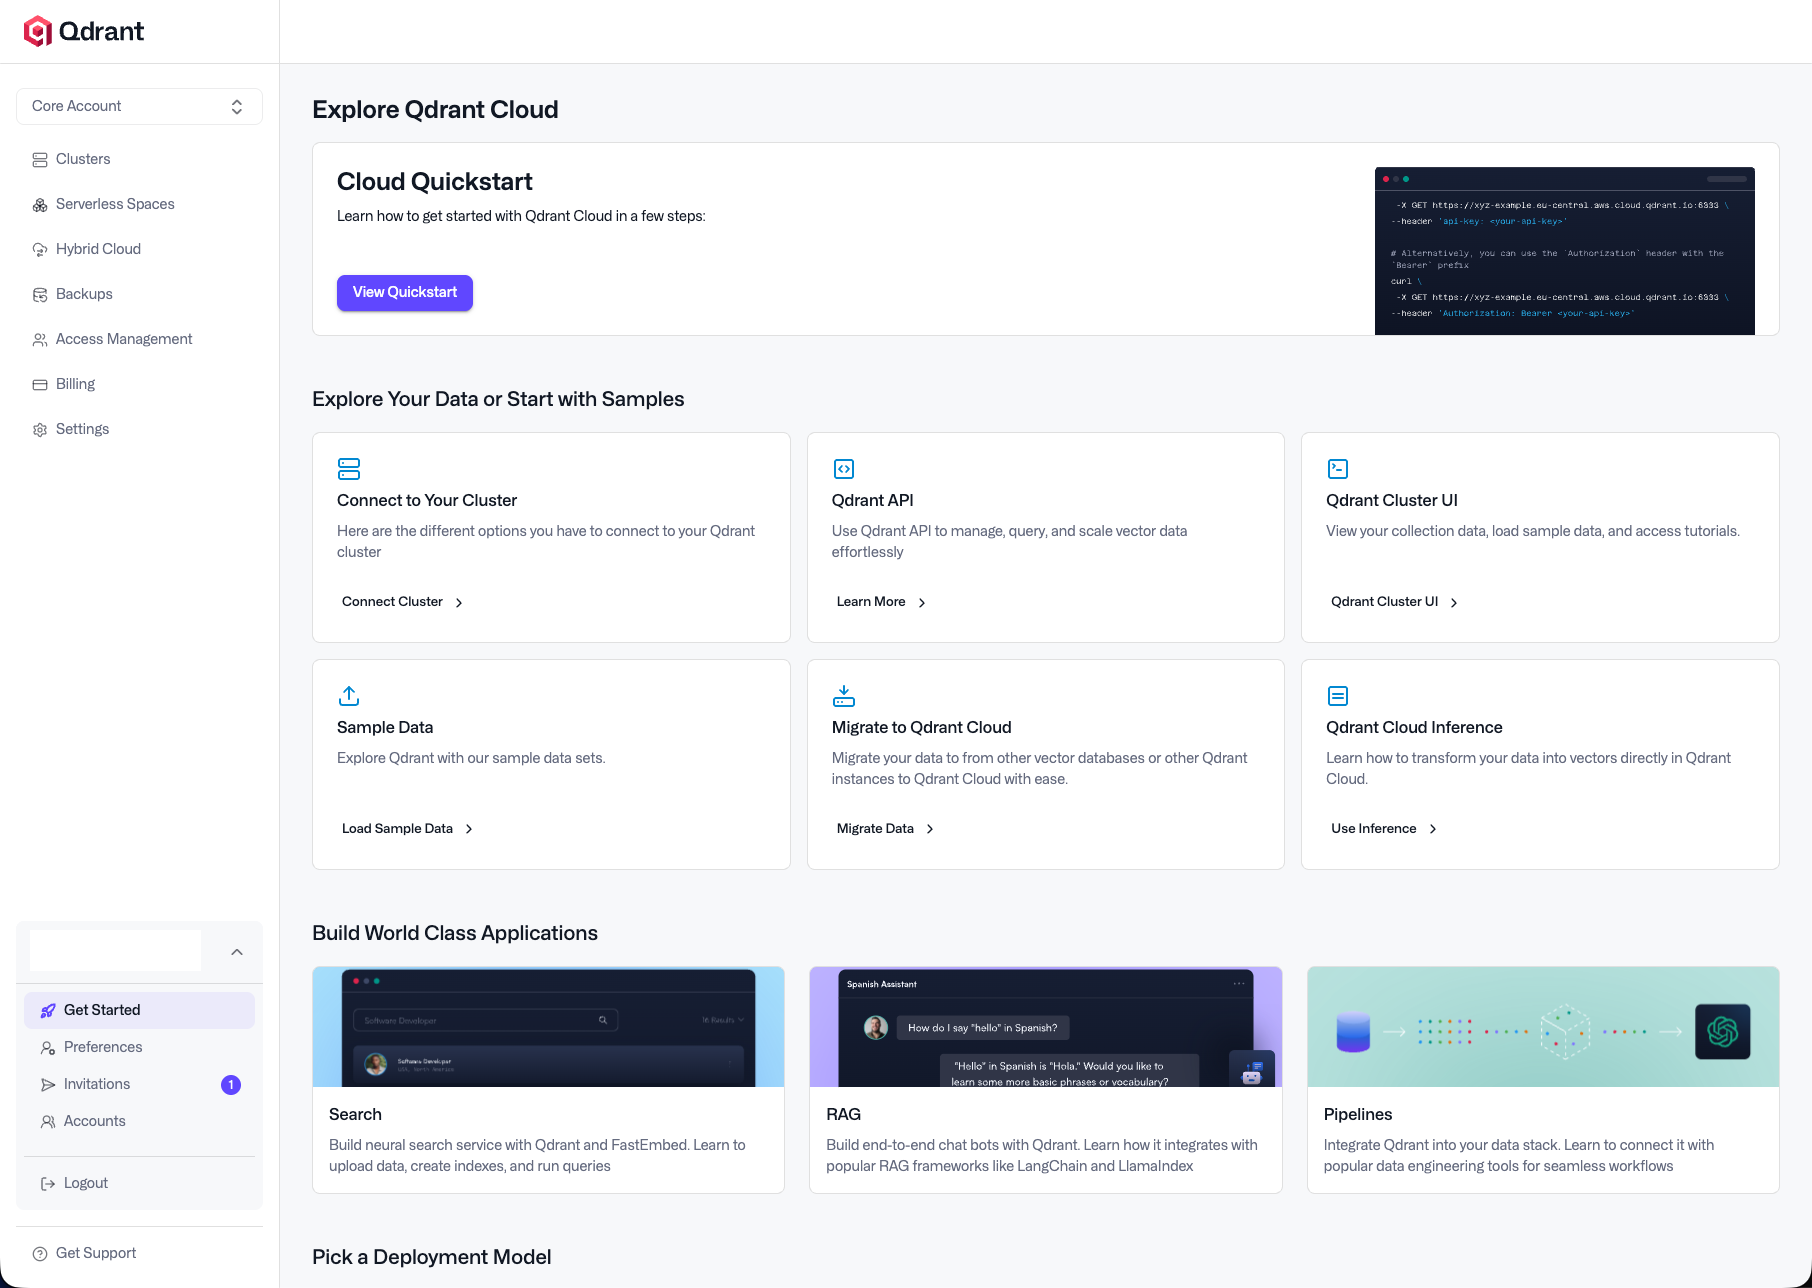
The Get Started page (Explore Qdrant Cloud) is your landing page for connecting to clusters, loading sample data, migrating data, and using Cloud Inference. See Getting Started for a guided walkthrough.
Switching Between Accounts
If you have access to multiple accounts, you can switch between them with the account switcher at the top left of the Console. Each account shows your role in it, for example an OWNER badge for accounts you own.
Creating Additional Accounts
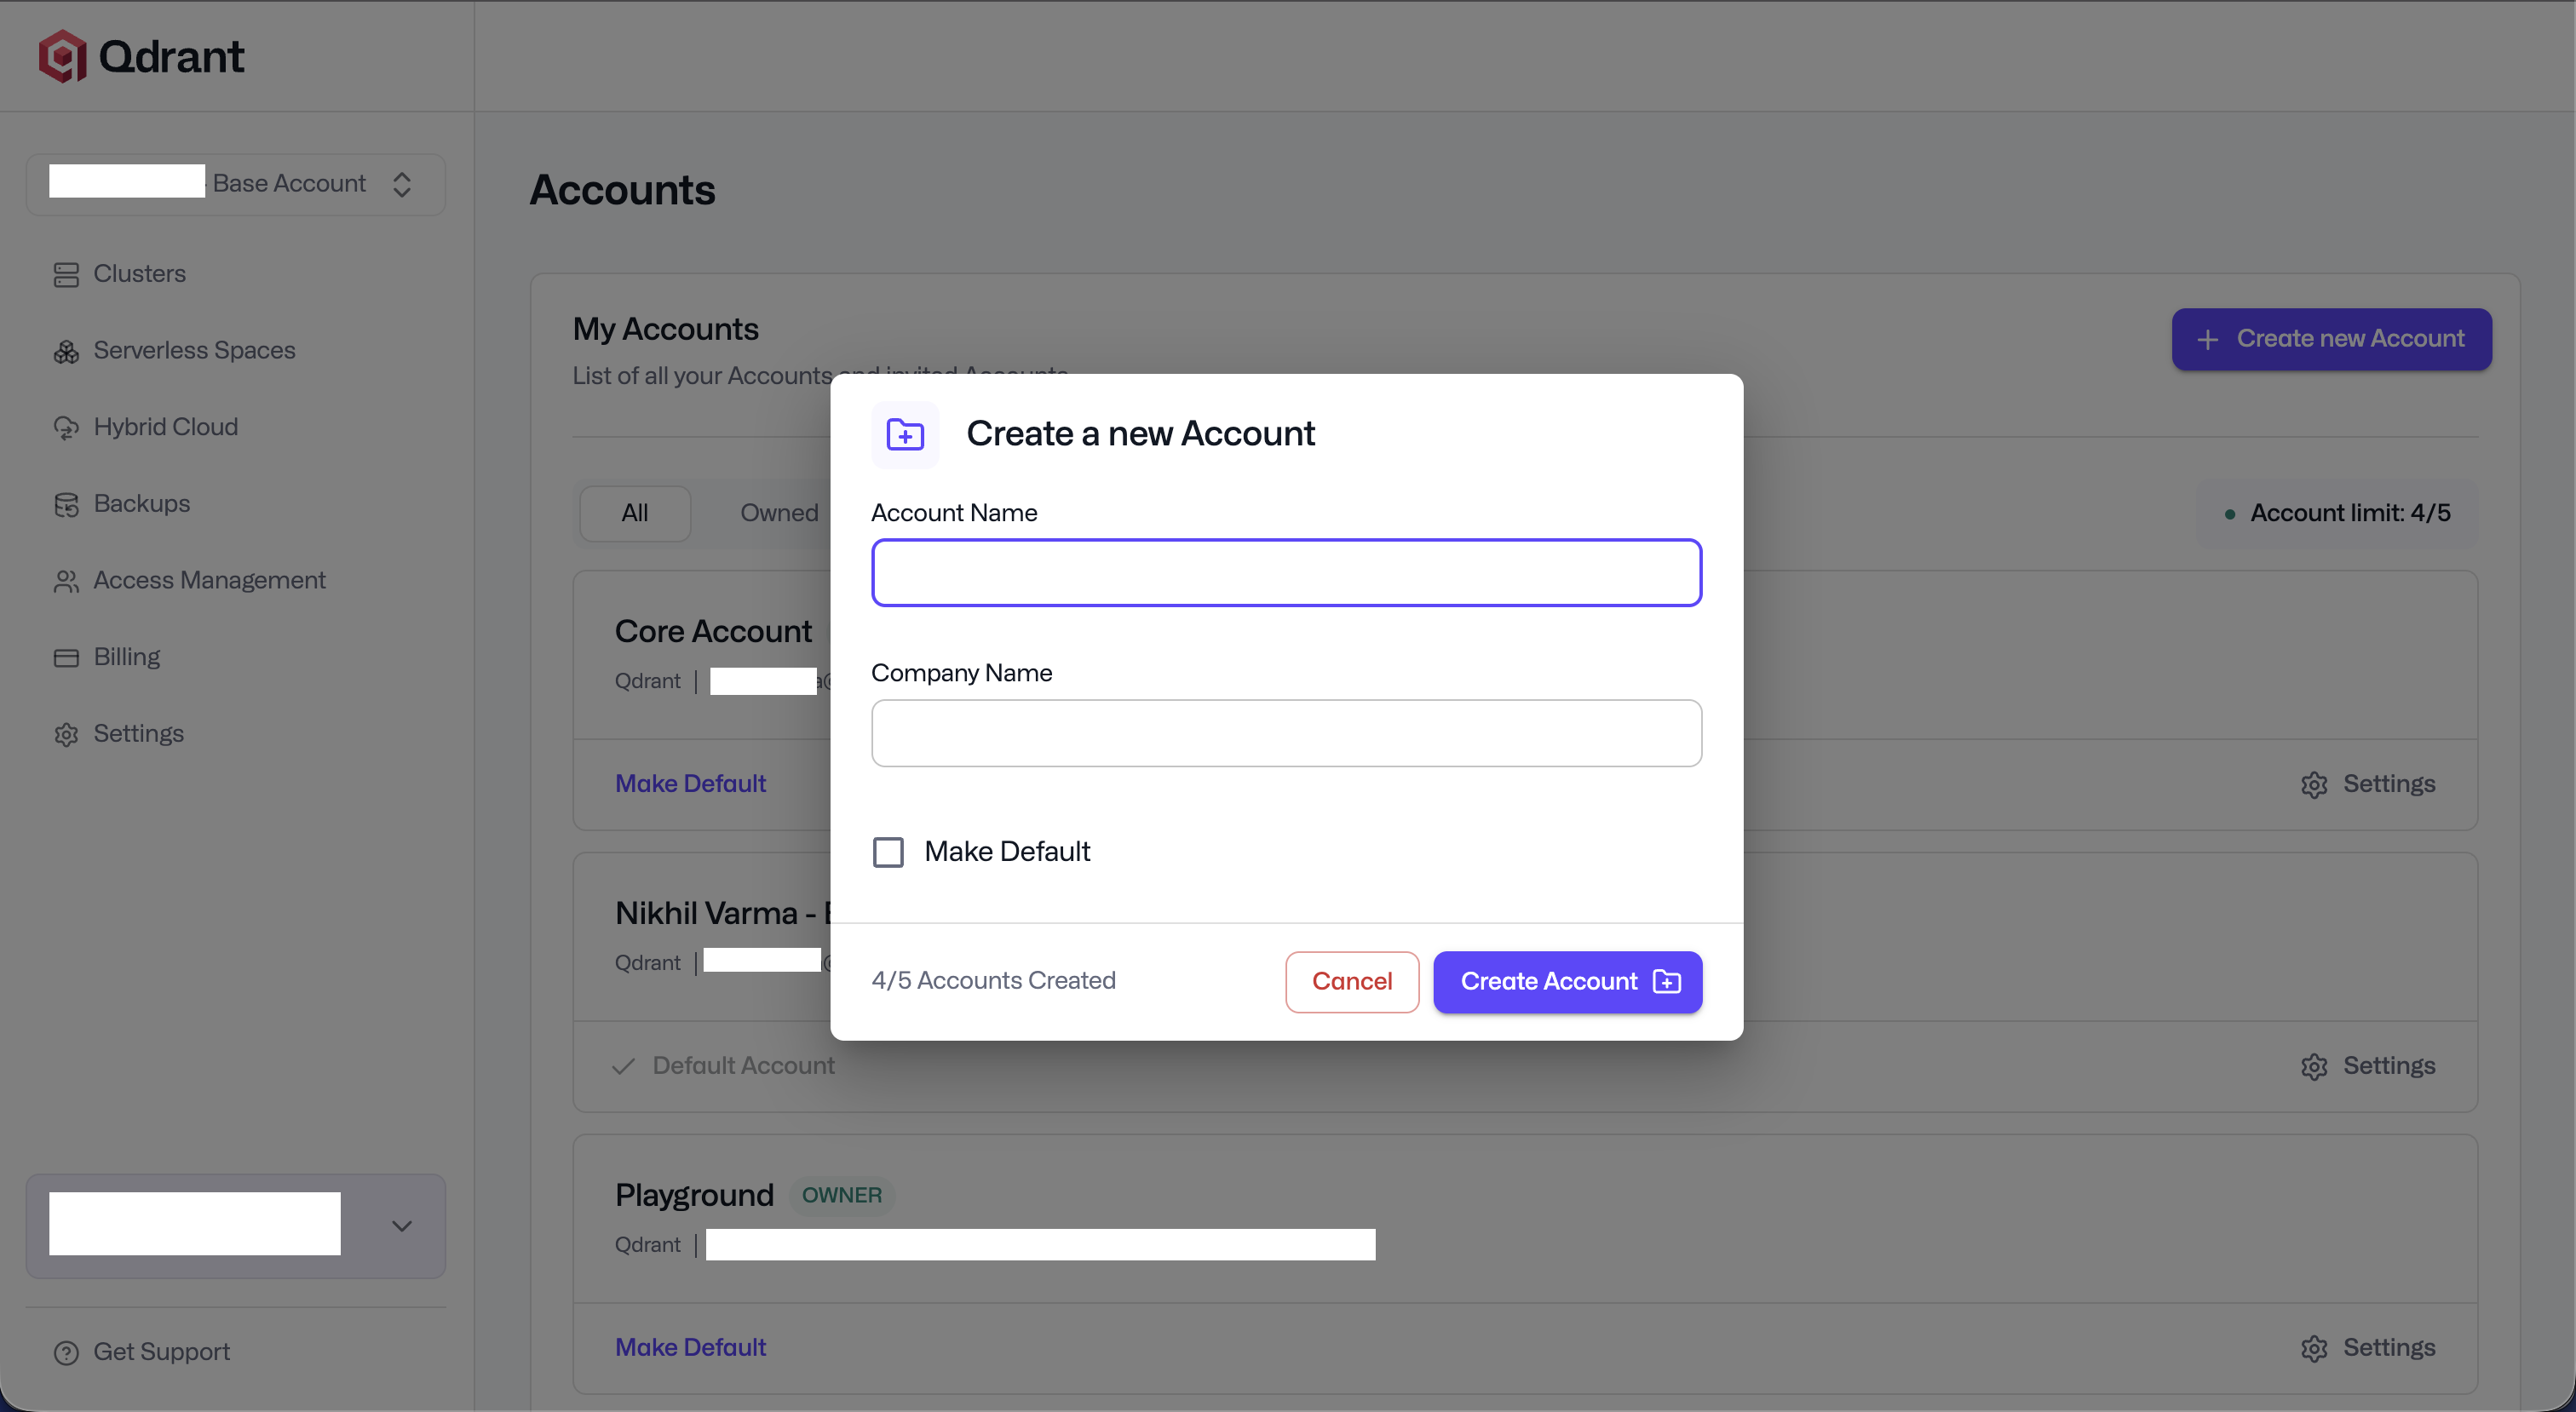
You can create additional accounts from the Create new Account option in the account switcher, or from your Accounts page. Each account is isolated: it has its own set of clusters, permissions, and payment methods. For each account, you can decide which users get access, set their specific permissions, and invite them directly.
Multiple accounts are useful when you want to separate clusters across different teams or environments, or apply different payment methods to different resources.
When creating an account you provide:
- Account Name — a descriptive name such as Development, Production, or Testing.
- Company Name — optional, associates the account with your organization.
- Make Default — optionally set this account as the one selected when you log in.
Each user can own up to 5 accounts. The dialog shows how many you have created (for example, 4/5 Accounts Created).
Managing Accounts
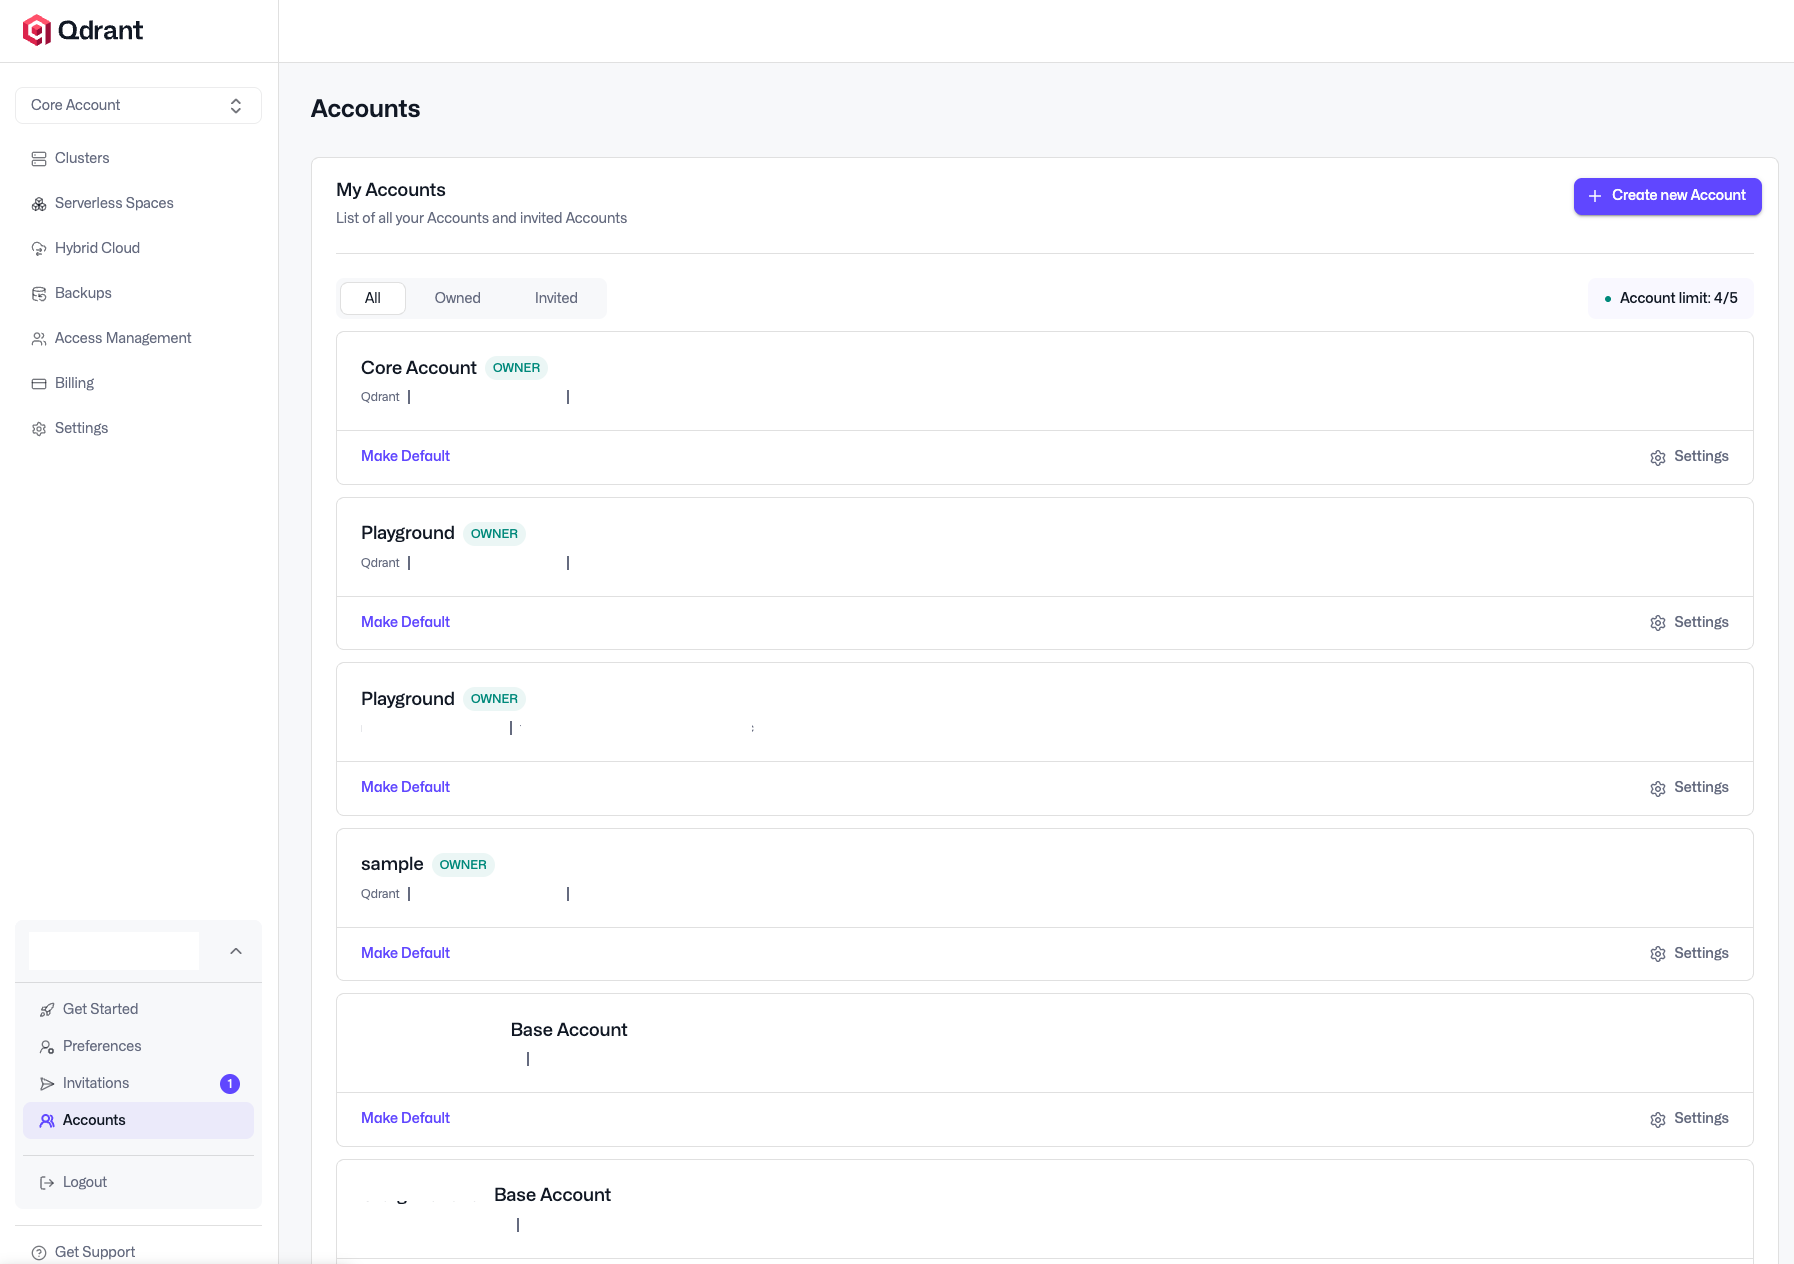
Open the Accounts page from the user menu (Accounts) or from the account switcher (Manage accounts) to see every account you own or have access to. You can filter by All, Owned, or Invited, and the page shows your current account limit (for example, Account limit: 4/5).
For each account you can set it as the default (Make Default) or open its Settings. Each account also displays its unique Account ID, which you may need when contacting support or using the Cloud API.
Account Settings
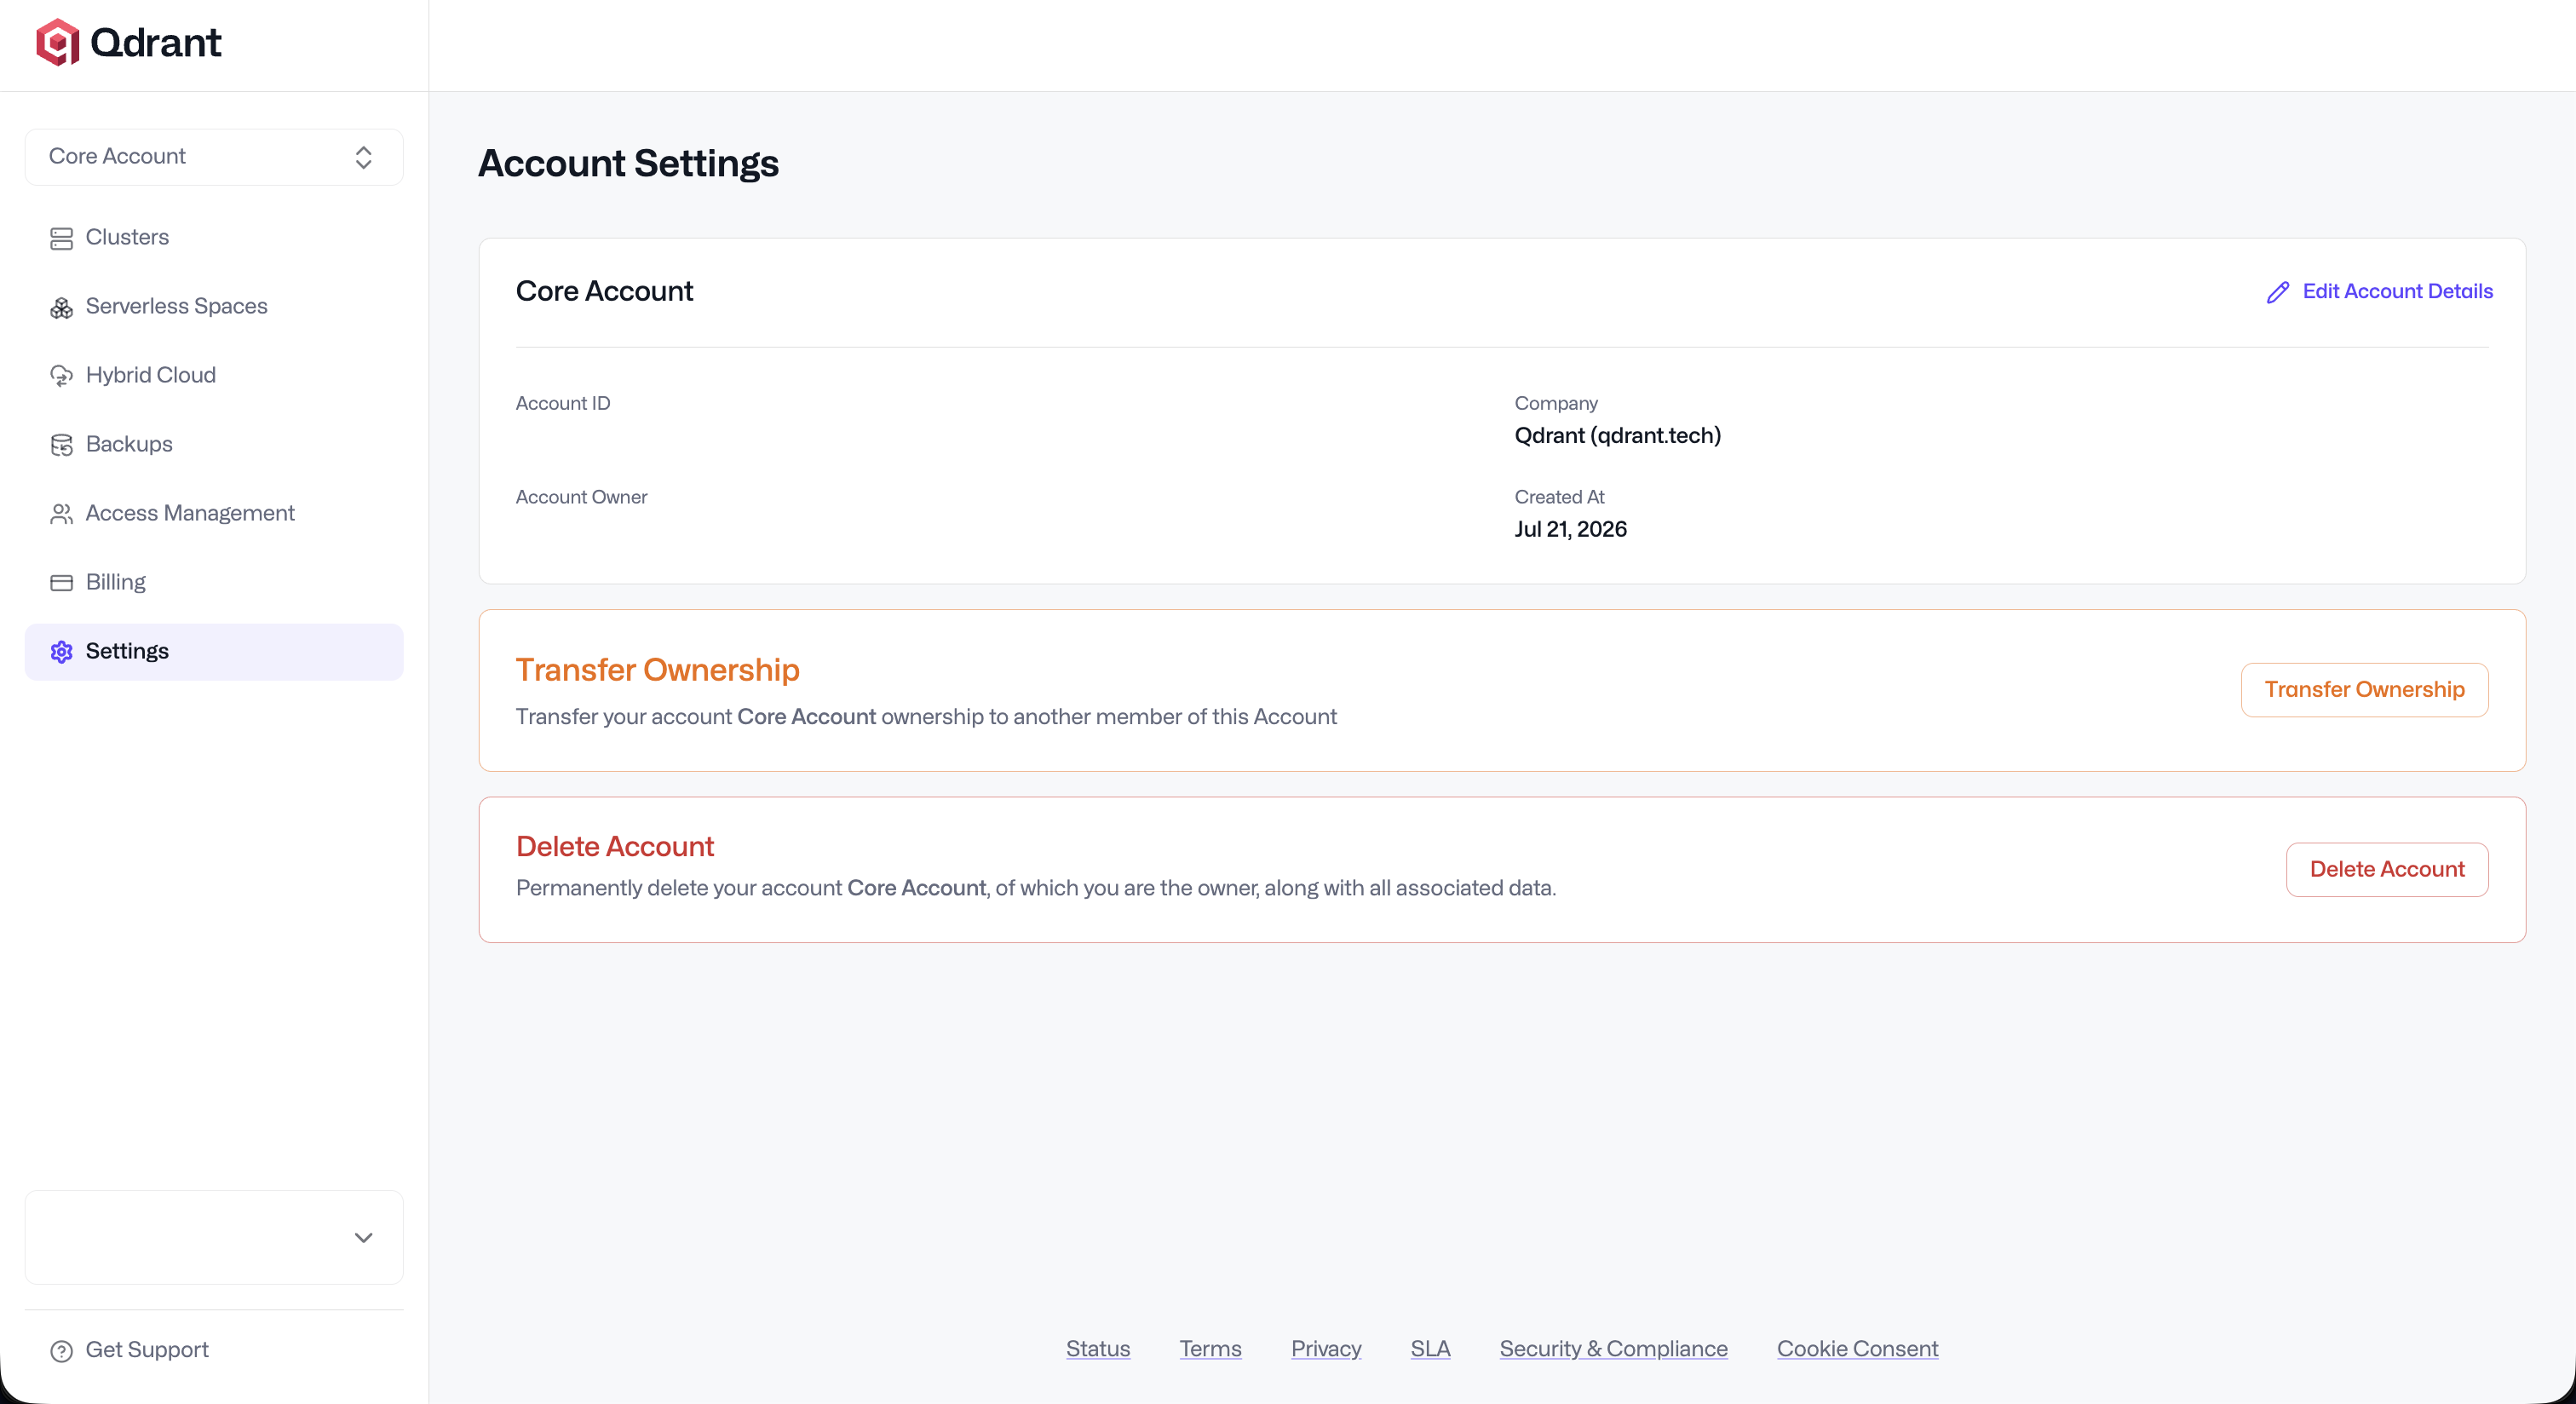
Open Settings for an account (from the Accounts page or the left navigation) to view and manage account details, including the Account ID, Company, Account Owner, and creation date.
Editing Account Details
Use Edit Account Details to rename an account or update its company name. If you use multiple accounts for different purposes, descriptive names make them easier to tell apart, and you can choose which account is the default when you log in.
Transferring Account Ownership
Every account has exactly one owner. The owner has full admin permissions plus the unique ability to delete the account or transfer its ownership.
To transfer ownership, on the account Settings page choose Transfer Ownership and select another member of the account. The new owner must already be a member — invite them first from the Access Management page if needed.
Deleting an Account
Use Delete Account to permanently delete an account you own, along with all of its database clusters and associated data. This action cannot be undone and is only available to the account owner. Deleting an account does not delete your user. You can create other accounts afterward. You can delete your user completely in the User Settings.
Inviting Users to an Account
You can invite additional users to an account and manage their permissions on the Access Management page in the Qdrant Cloud Console. Invited users receive an email with an invitation link. Once they sign up, they can accept the invitation from their personal Invitations page.
For roles and permissions, see Cloud RBAC.
Enterprise Single-Sign-On (SSO)
Qdrant Cloud supports enterprise single sign-on (SSO) for Premium Tier customers. SSO covers Cloud Console sign-in only. Applications and users that send requests to a cluster still authenticate with Database API keys. The following providers are supported:
- Active Directory/LDAP
- ADFS
- Azure Active Directory Native
- Google Workspace
- OpenID Connect
- Okta
- PingFederate
- SAML
- Azure Active Directory
SSO is included with the Premium Tier. To turn it on, open a ticket in the Qdrant support portal. If you’re not on Premium yet, contact us.
 Ready to try Qdrant?