Qdrant Setup
Before diving into multi-vector search, you need a running Qdrant instance. Whether you choose Qdrant Cloud for a managed solution or a local deployment, this lesson will get you up and running.
Multi-vector search requires specific collection configurations that differ from traditional single-vector setups. We’ll cover the essentials to prepare your environment.
Qdrant Cloud Setup (Recommended)
Qdrant Cloud is the fastest way to get started with multi-vector search. It provides a fully managed, production-ready vector database with automatic backups, high availability, and secure TLS connections. Both Qdrant Cloud and the open-source version provide the same feature set - Cloud simply handles the infrastructure for you.
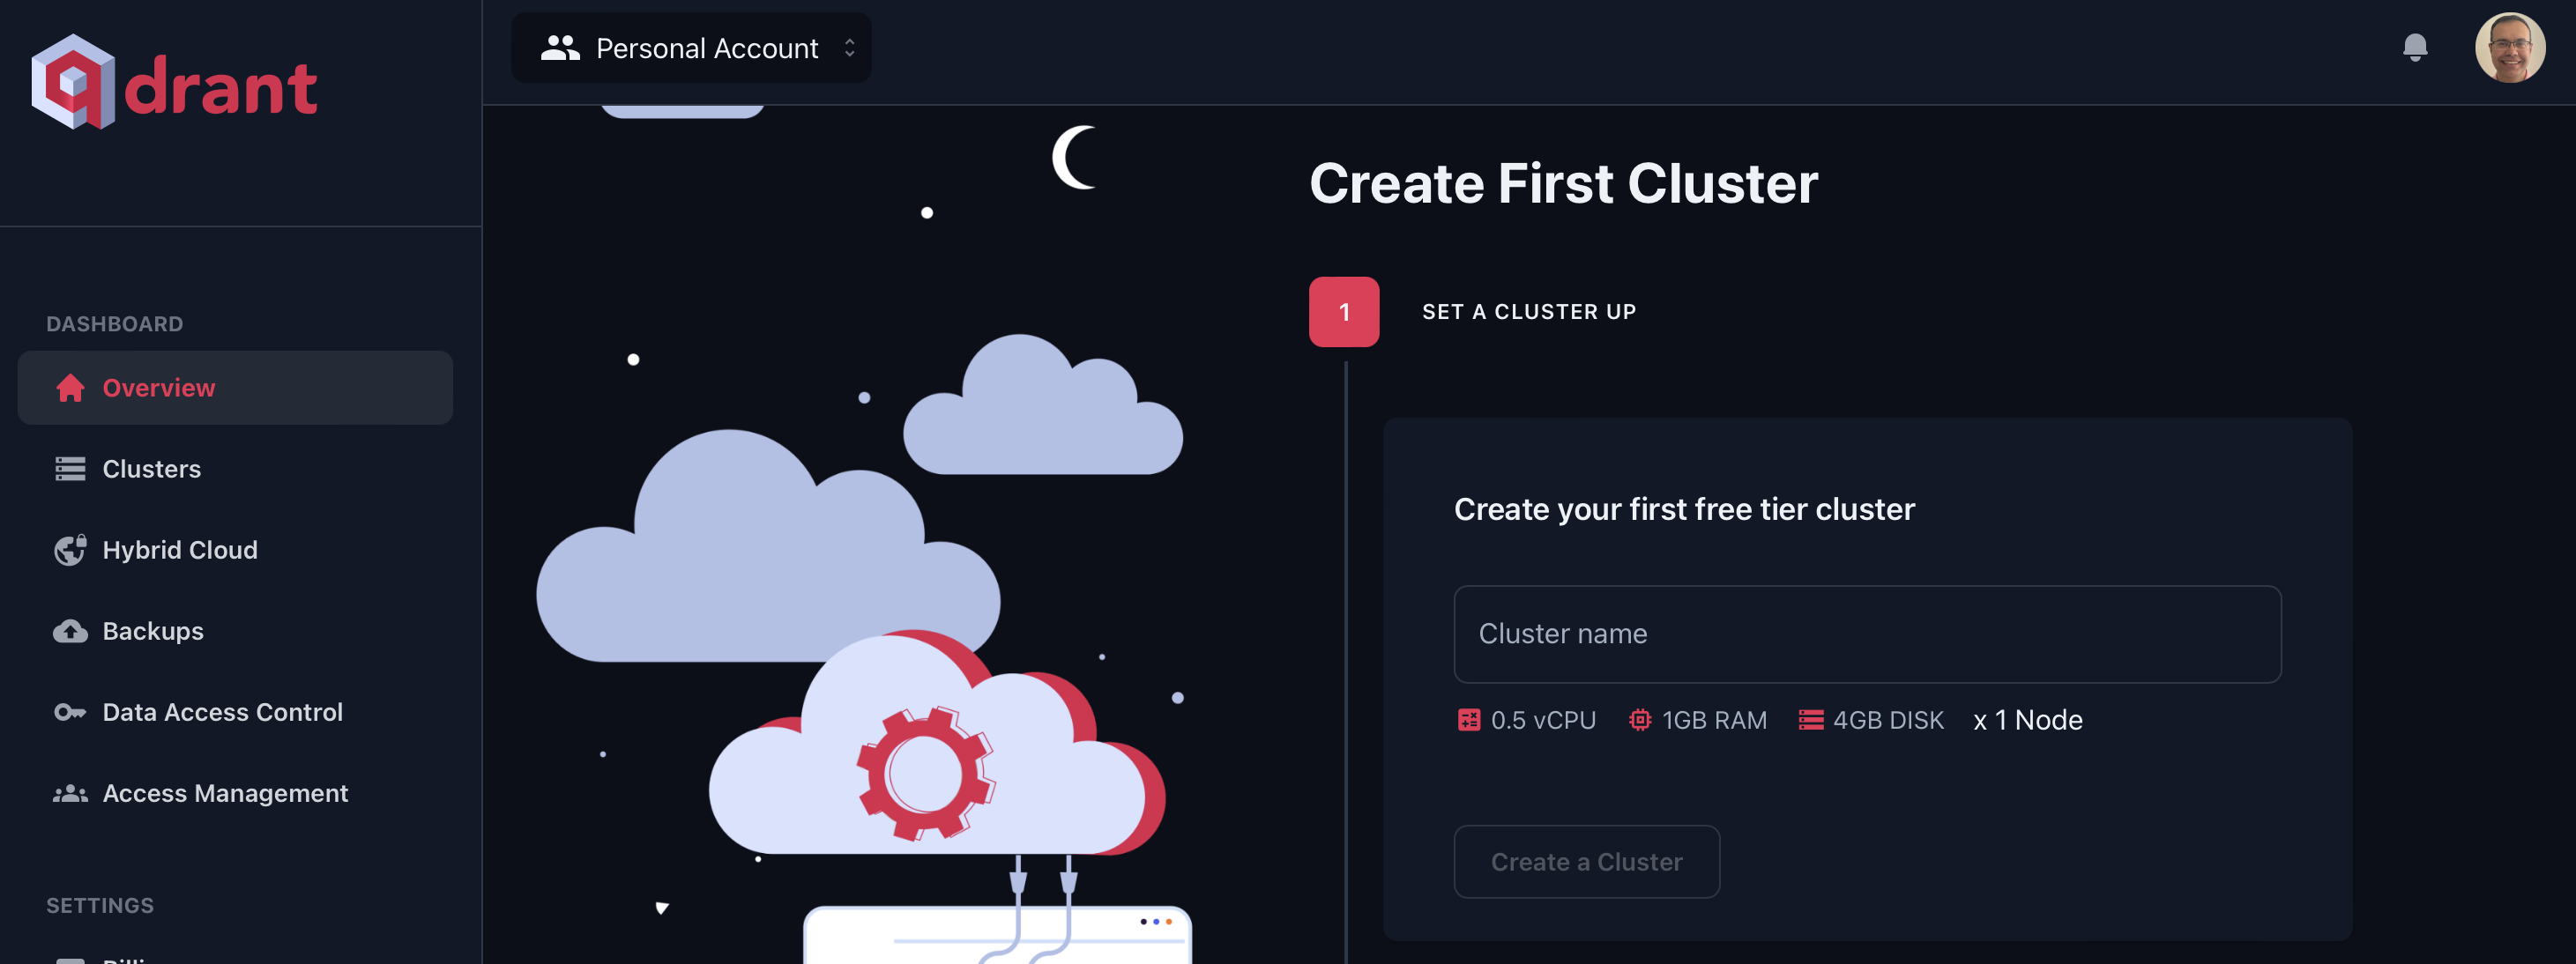
Create Your Cluster
Sign up at cloud.qdrant.io using your email, Google, or GitHub account.
Navigate to Clusters -> Create a Free Cluster. The Free Tier provides sufficient resources for this course.
Select a region closest to your location or application.
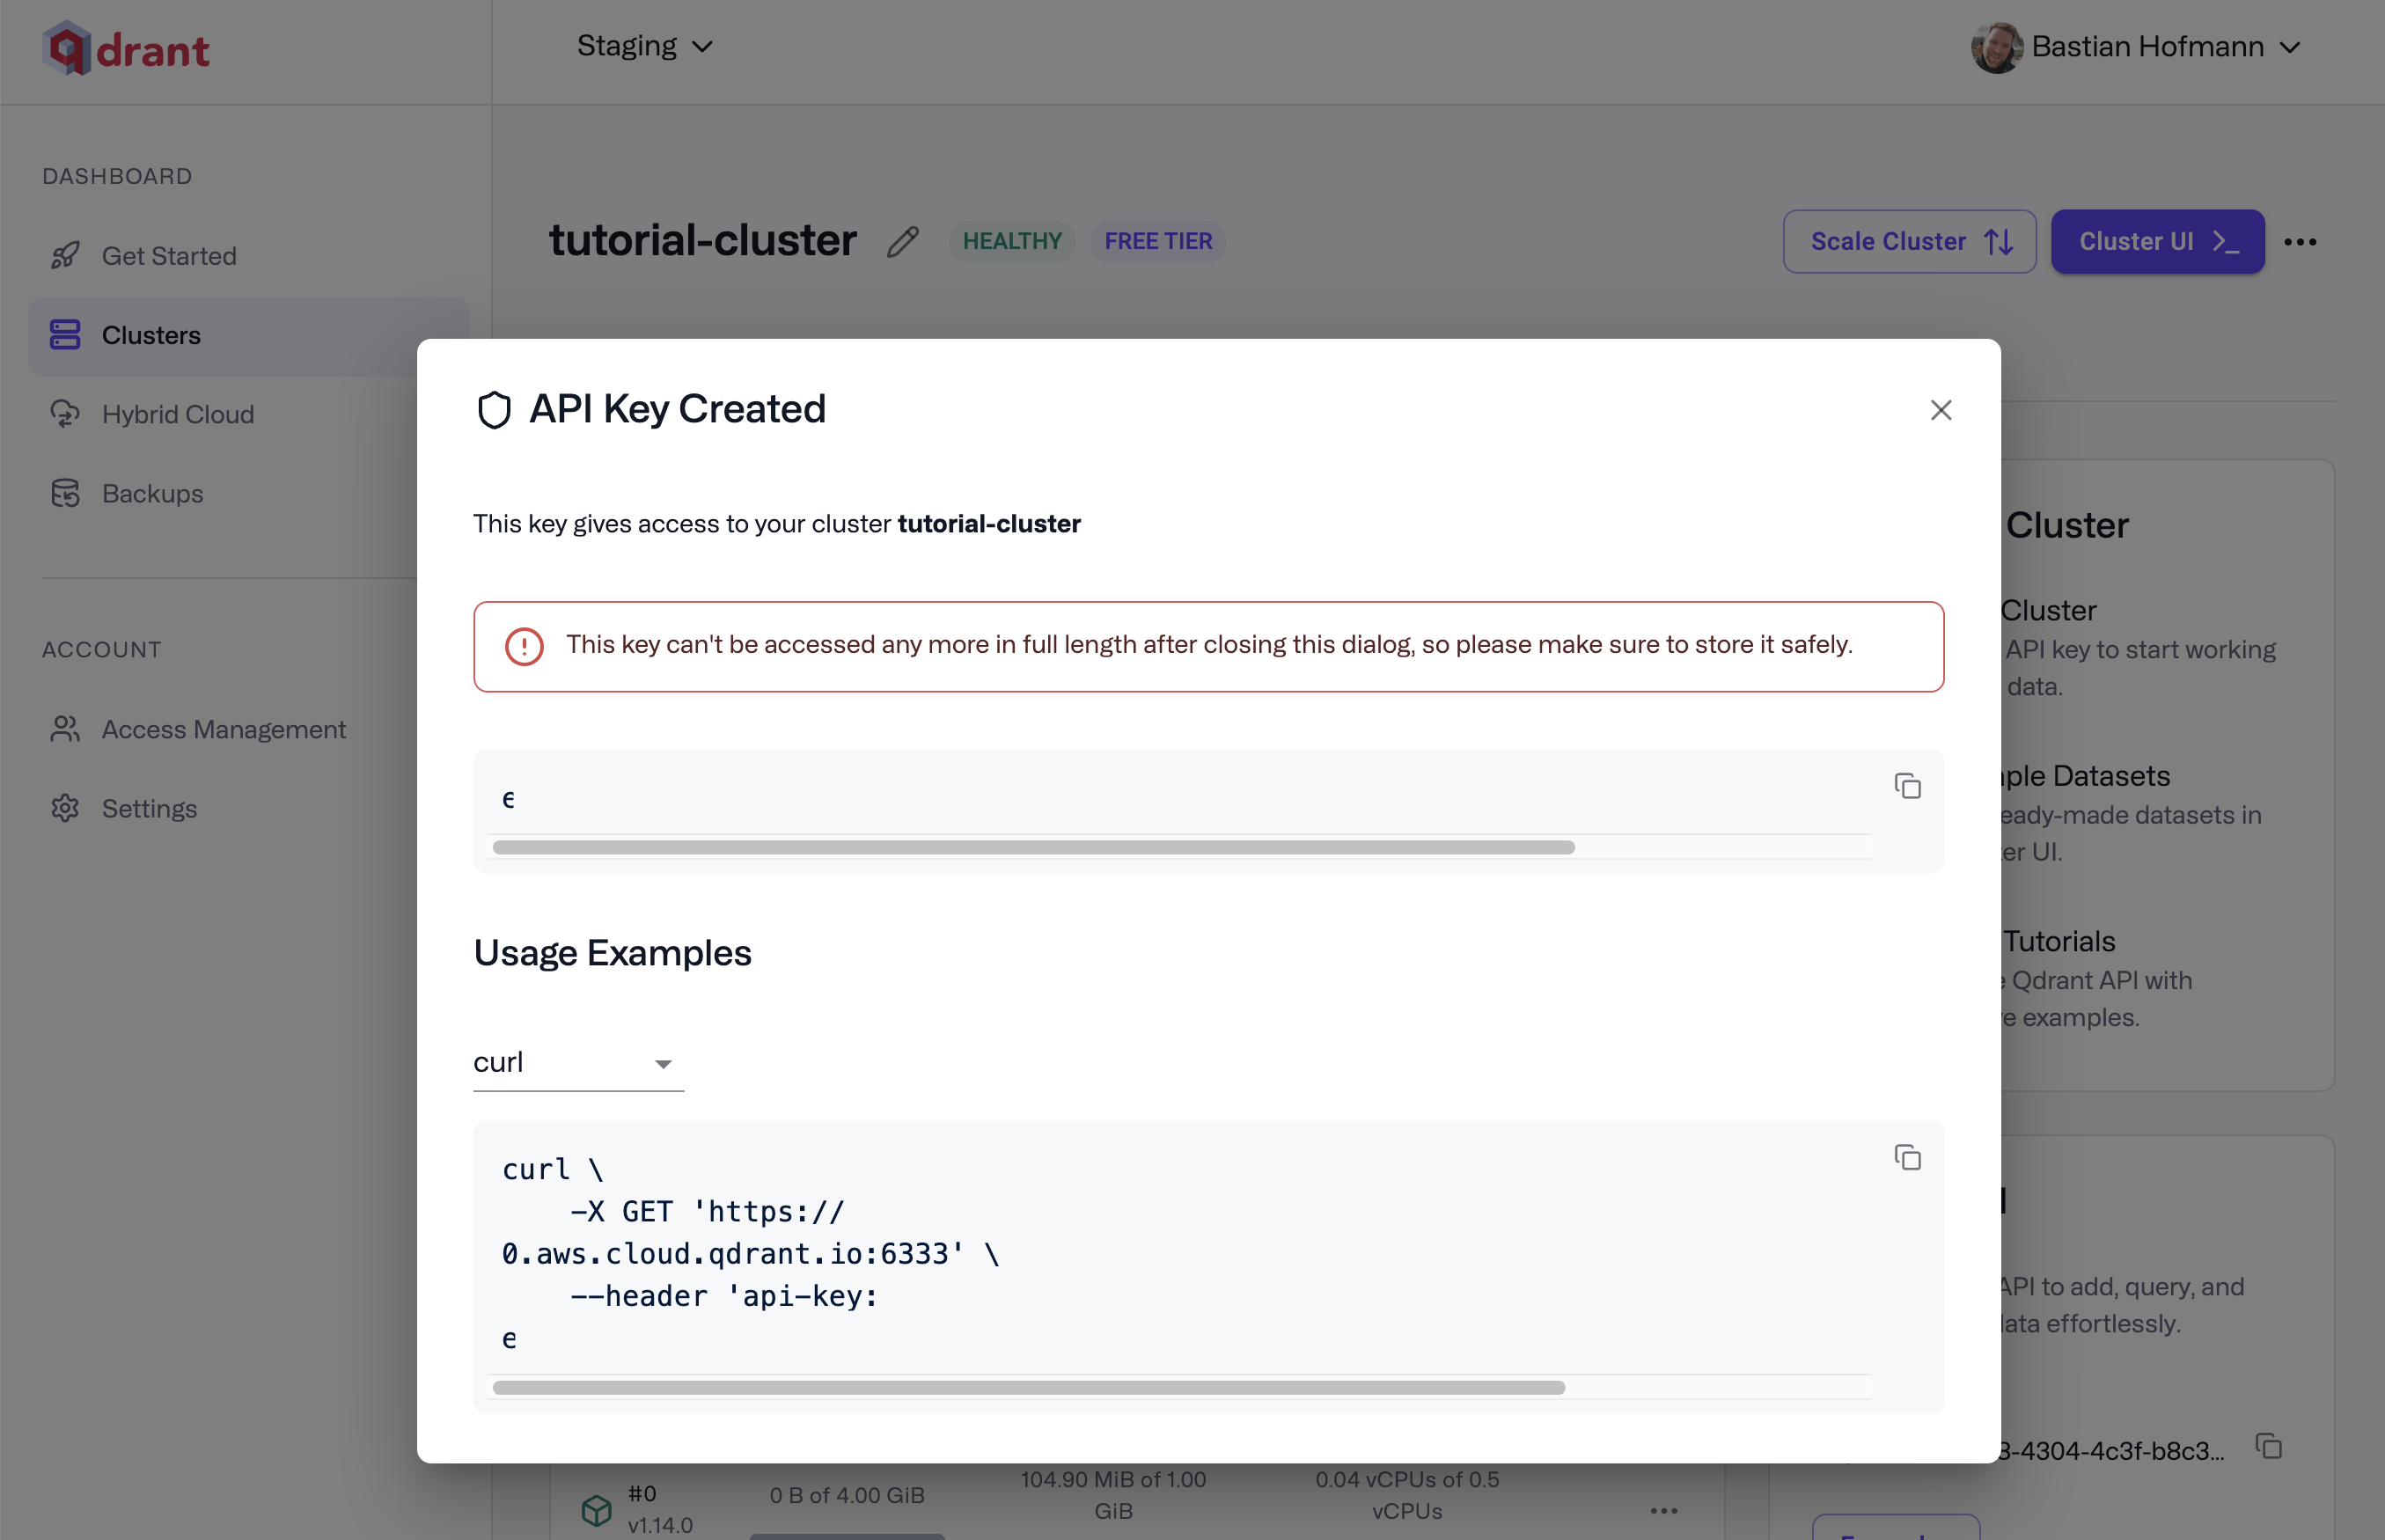
Once your cluster is ready, copy the API key from the cluster dashboard and store it securely. You can generate additional keys later from the API Keys section.
Access the Web UI
Click Cluster UI in the top-right corner of your cluster page to open the dashboard.
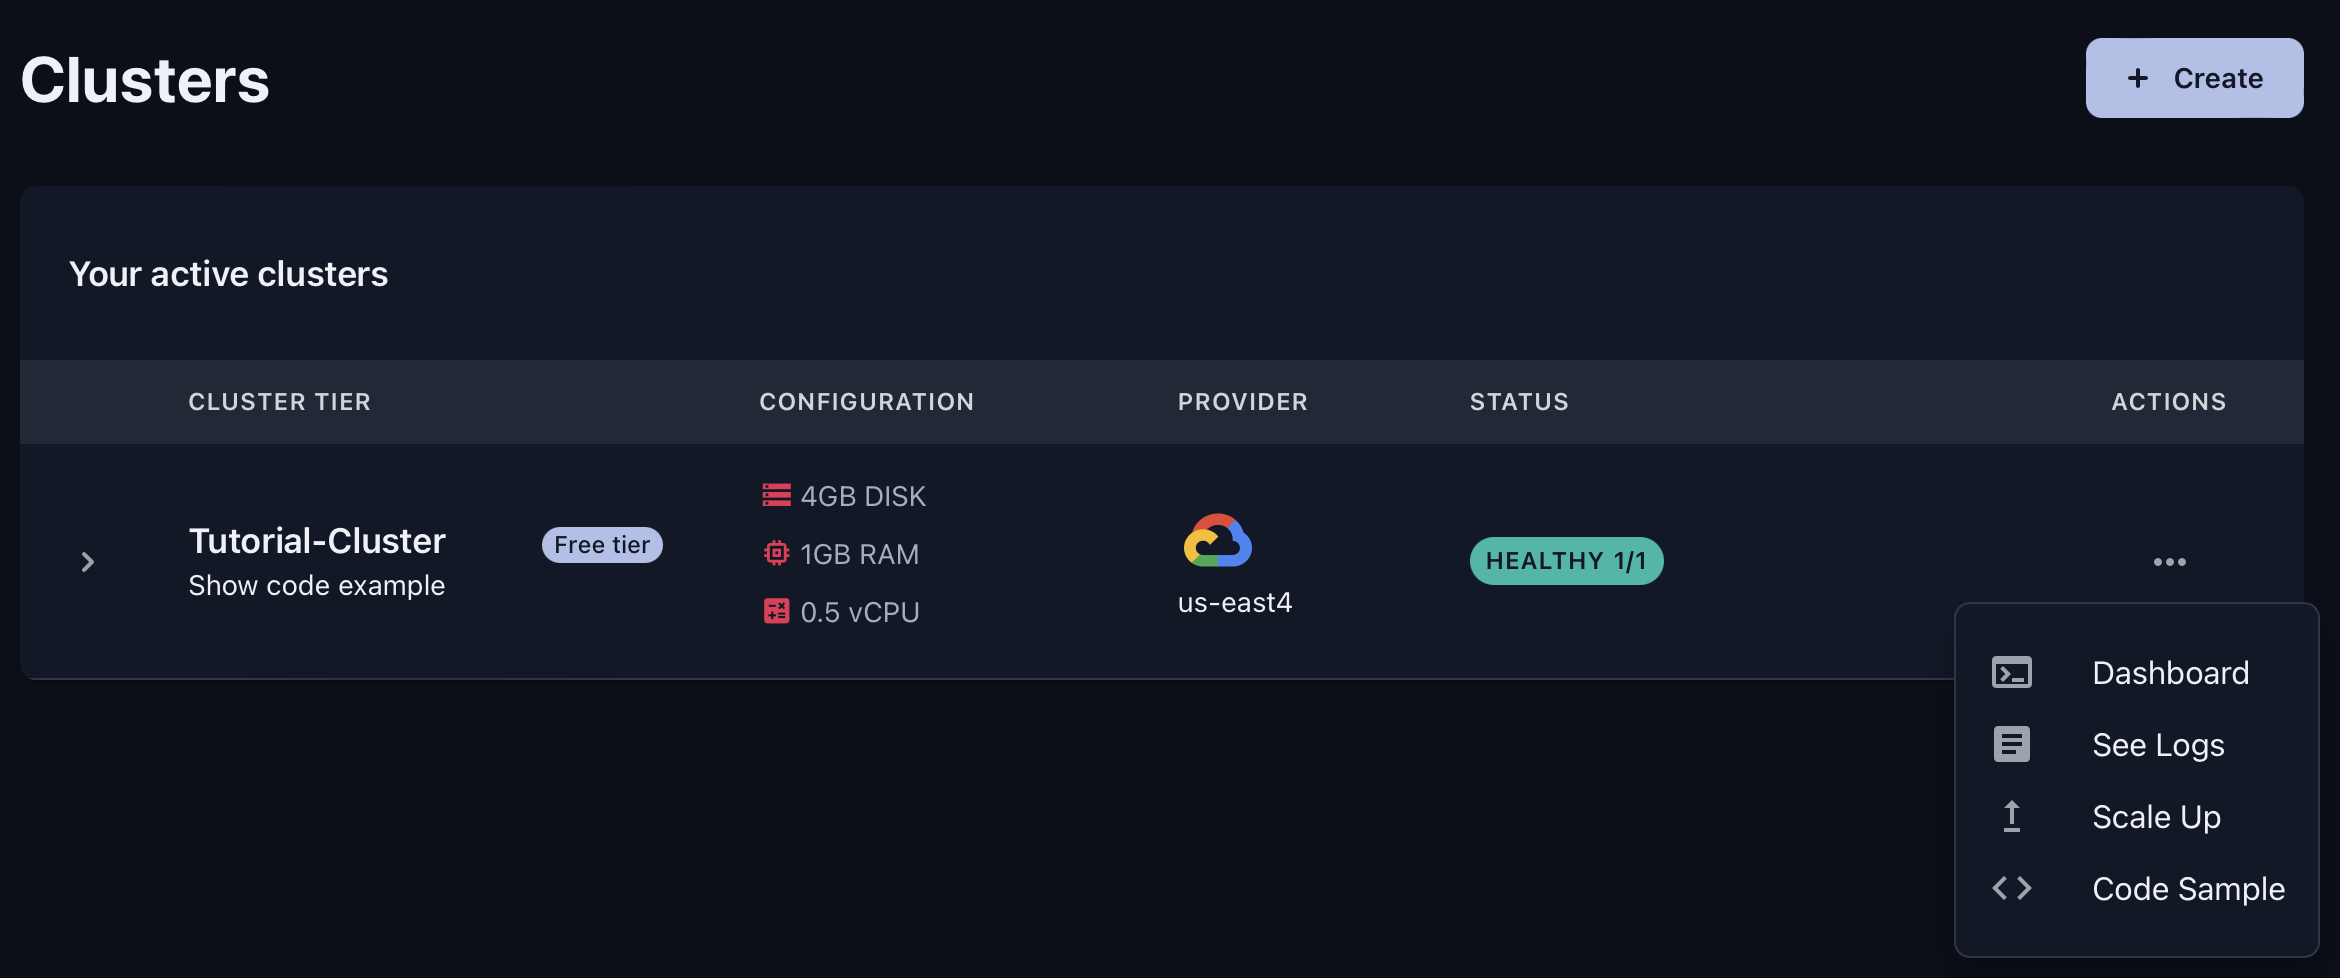
The Web UI provides several useful tools:
- Console: Test REST API calls directly in your browser
- Collections: Manage all your collections and their configurations
- Tutorial: Interactive walkthrough with sample data
Save Your Credentials
Store your cluster URL and API key for use in upcoming lessons. Create an .env file in your working directory:
QDRANT_URL=https://YOUR-CLUSTER.cloud.qdrant.io:6333
QDRANT_API_KEY=YOUR_API_KEY
Replace YOUR-CLUSTER with your actual cluster URL from the dashboard, and YOUR_API_KEY with the API key you copied earlier.
You’ll use these credentials in the next lesson when we install and configure the Python client.
Local Qdrant Installation
Qdrant’s open-source version provides the same features as Qdrant Cloud but requires you to manage the infrastructure yourself. This option works well for development, testing, or when you need full control over your deployment.
Docker Installation (Recommended)
The fastest way to run Qdrant locally is with Docker:
docker run -p 6333:6333 -p 6334:6334 \
    -v $(pwd)/qdrant_storage:/qdrant/storage:z \
    qdrant/qdrant
This command:
- Exposes port
6333for the REST API - Exposes port
6334for the gRPC API - Mounts a local directory for persistent storage
Once running, you can access the Web UI at http://localhost:6333/dashboard to verify the installation.
Alternative Installation Methods
For production deployments or other installation methods, see the Qdrant Installation Guide.
Verifying Your Setup
Open the Qdrant Web UI:
- Cloud users: Click Cluster UI in the top-right corner of your cluster dashboard
- Local users: Navigate to
http://localhost:6333/dashboard
If the Web UI loads and you can see the Collections tab, your setup is complete. In the next lesson, you’ll install the Python dependencies to connect programmatically.
Next, you’ll install the Python dependencies needed to work with multi-vector embeddings.