Creating a Qdrant Cloud Cluster
Qdrant Cloud offers two types of clusters: Free and Standard.
Free Clusters
Free tier clusters are perfect for prototyping and testing. You don’t need a credit card to join.
A free tier cluster only includes 1 single node with the following resources:
| Resource | Value |
|---|---|
| RAM | 1 GB |
| vCPU | 0.5 |
| Disk space | 4 GB |
| Nodes | 1 |
This configuration supports serving about 1 M vectors of 768 dimensions. To calculate your needs, refer to our documentation on Capacity Planning.
The choice of cloud providers and regions is limited.
It includes:
- Standard Support
- Basic monitoring
- Basic log access
- Basic alerting
- Version upgrades with downtime
- Only manual snapshots and restores via API
- No dedicated resources
If unused, free tier clusters are automatically suspended after 1 week, and deleted after 4 weeks of inactivity if not reactivated.
You can always upgrade to a standard cluster with more resources and features.
Standard Clusters
On top of the Free cluster features, Standard clusters offer:
- Response time and uptime SLAs
- Dedicated resources
- Backup and disaster recovery
- Multi-node clusters for high availability
- Horizontal and vertical scaling
- Monitoring and log management
- Audit Loggig
- Zero-downtime upgrades for multi-node clusters with replication
- Support for GPUs to optimize indexing (AWS only)
You have a broad choice of regions on AWS, Azure and Google Cloud.
For payment information see Pricing and Payments.
Create a Cluster
This page shows you how to use the Qdrant Cloud Console to create a custom Qdrant Cloud cluster.
Prerequisite: Please make sure you have provided billing information before creating a custom cluster.
Start in the Clusters section of the Cloud Dashboard.
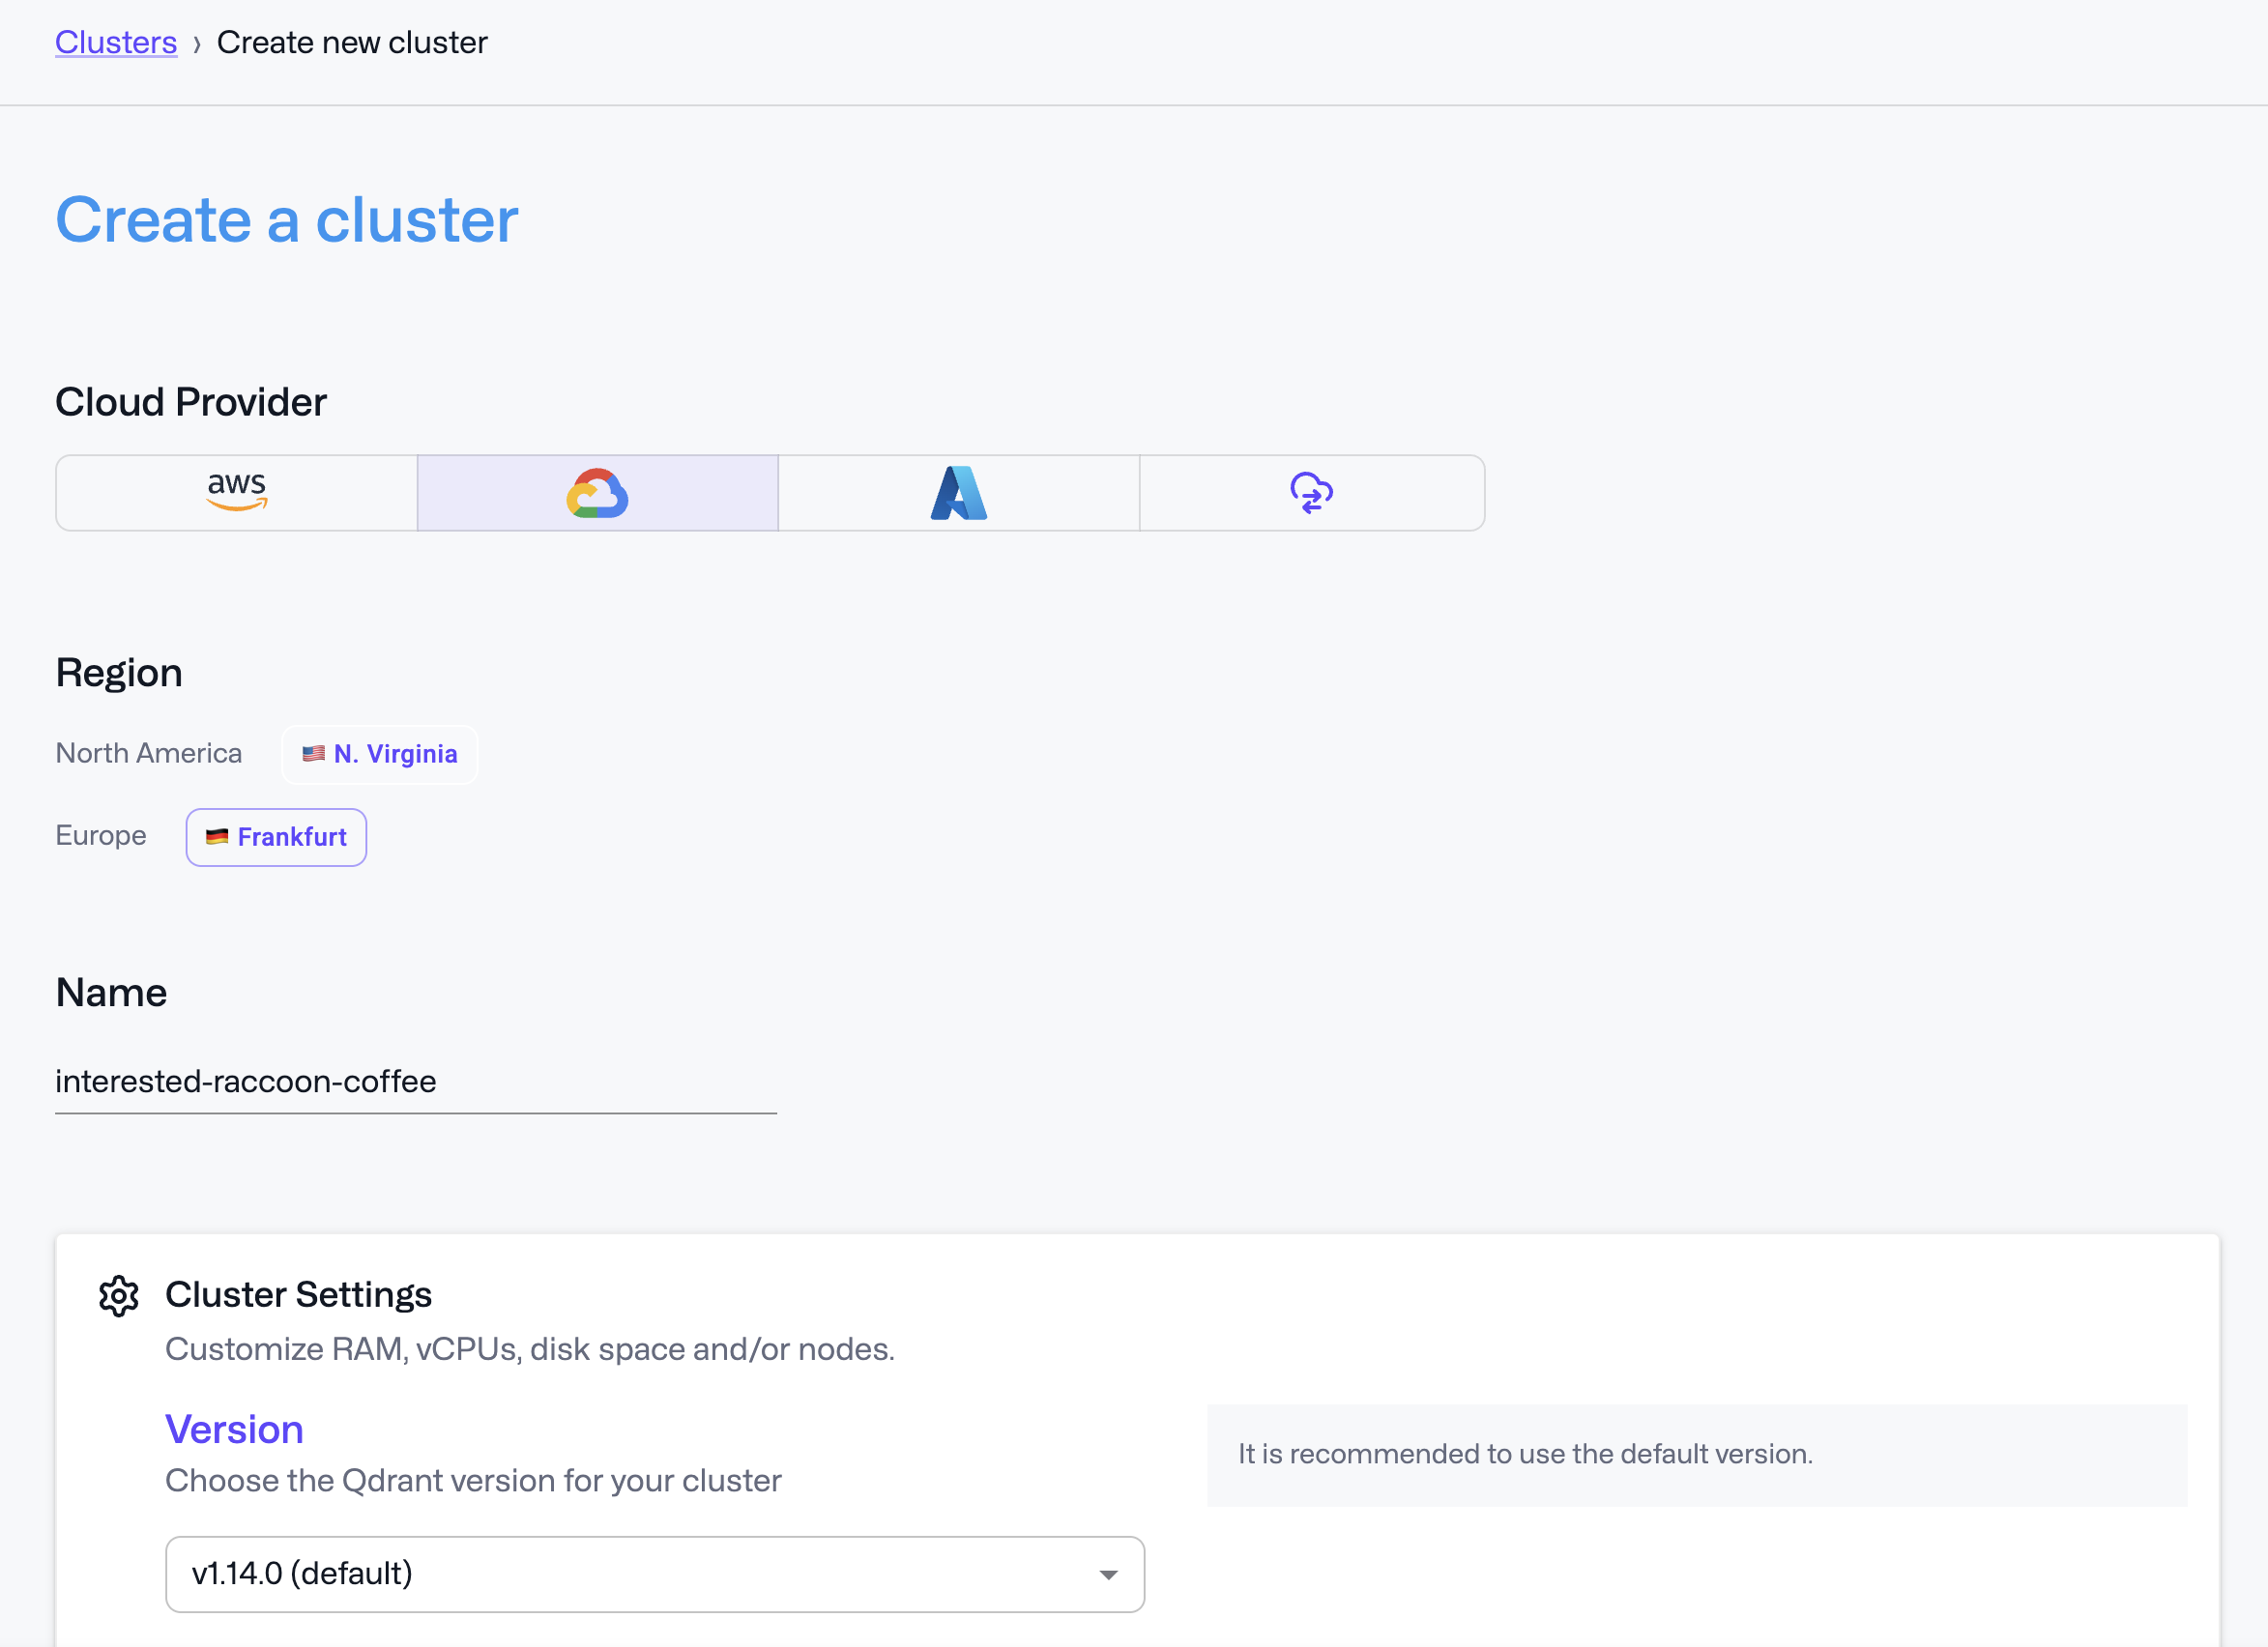
Select Clusters and then click + Create.
In the Create a cluster screen select Free or Standard Most of the remaining configuration options are only available for standard clusters.
Select a provider. Currently, you can deploy to:
- Amazon Web Services (AWS)
- Google Cloud Platform (GCP)
- Microsoft Azure
- Your own Hybrid Cloud Infrastructure
Choose your data center region or Hybrid Cloud environment.
Configure RAM for each node.
For more information, see our Capacity Planning guidance.
Choose the number of vCPUs and GPUs per node. If you add more RAM, the menu provides different options for vCPUs. For higher RAM configurations, you can also choose to add a GPU to optimize indexing performance (AWS only).
Select the number of nodes you want the cluster to be deployed on.
Each node is automatically attached with a disk, that has enough space to store data with Qdrant’s default collection configuration.
Premium tier customers can choose if the cluster should be deployed within a single availability zone, or across multiple availability zones for higher availability and resilience. This can only be chosen during cluster creation and not changed later.
Select additional disk space for your deployment.
Depending on your collection configuration, you may need more disk space per RAM. For example, if you configure
on_disk: trueand only use RAM for caching.Choose the speed tier for your disk. (AWS only)
Higher speed tiers provide better performance, especially for write-heavy workloads, or configurations with a low RAM cache ratio.
Review your cluster configuration and pricing.
When you’re ready, select Create. It takes some time to provision your cluster.
Once provisioned, you can access your cluster on ports 443 and 6333 (REST) and 6334 (gRPC).
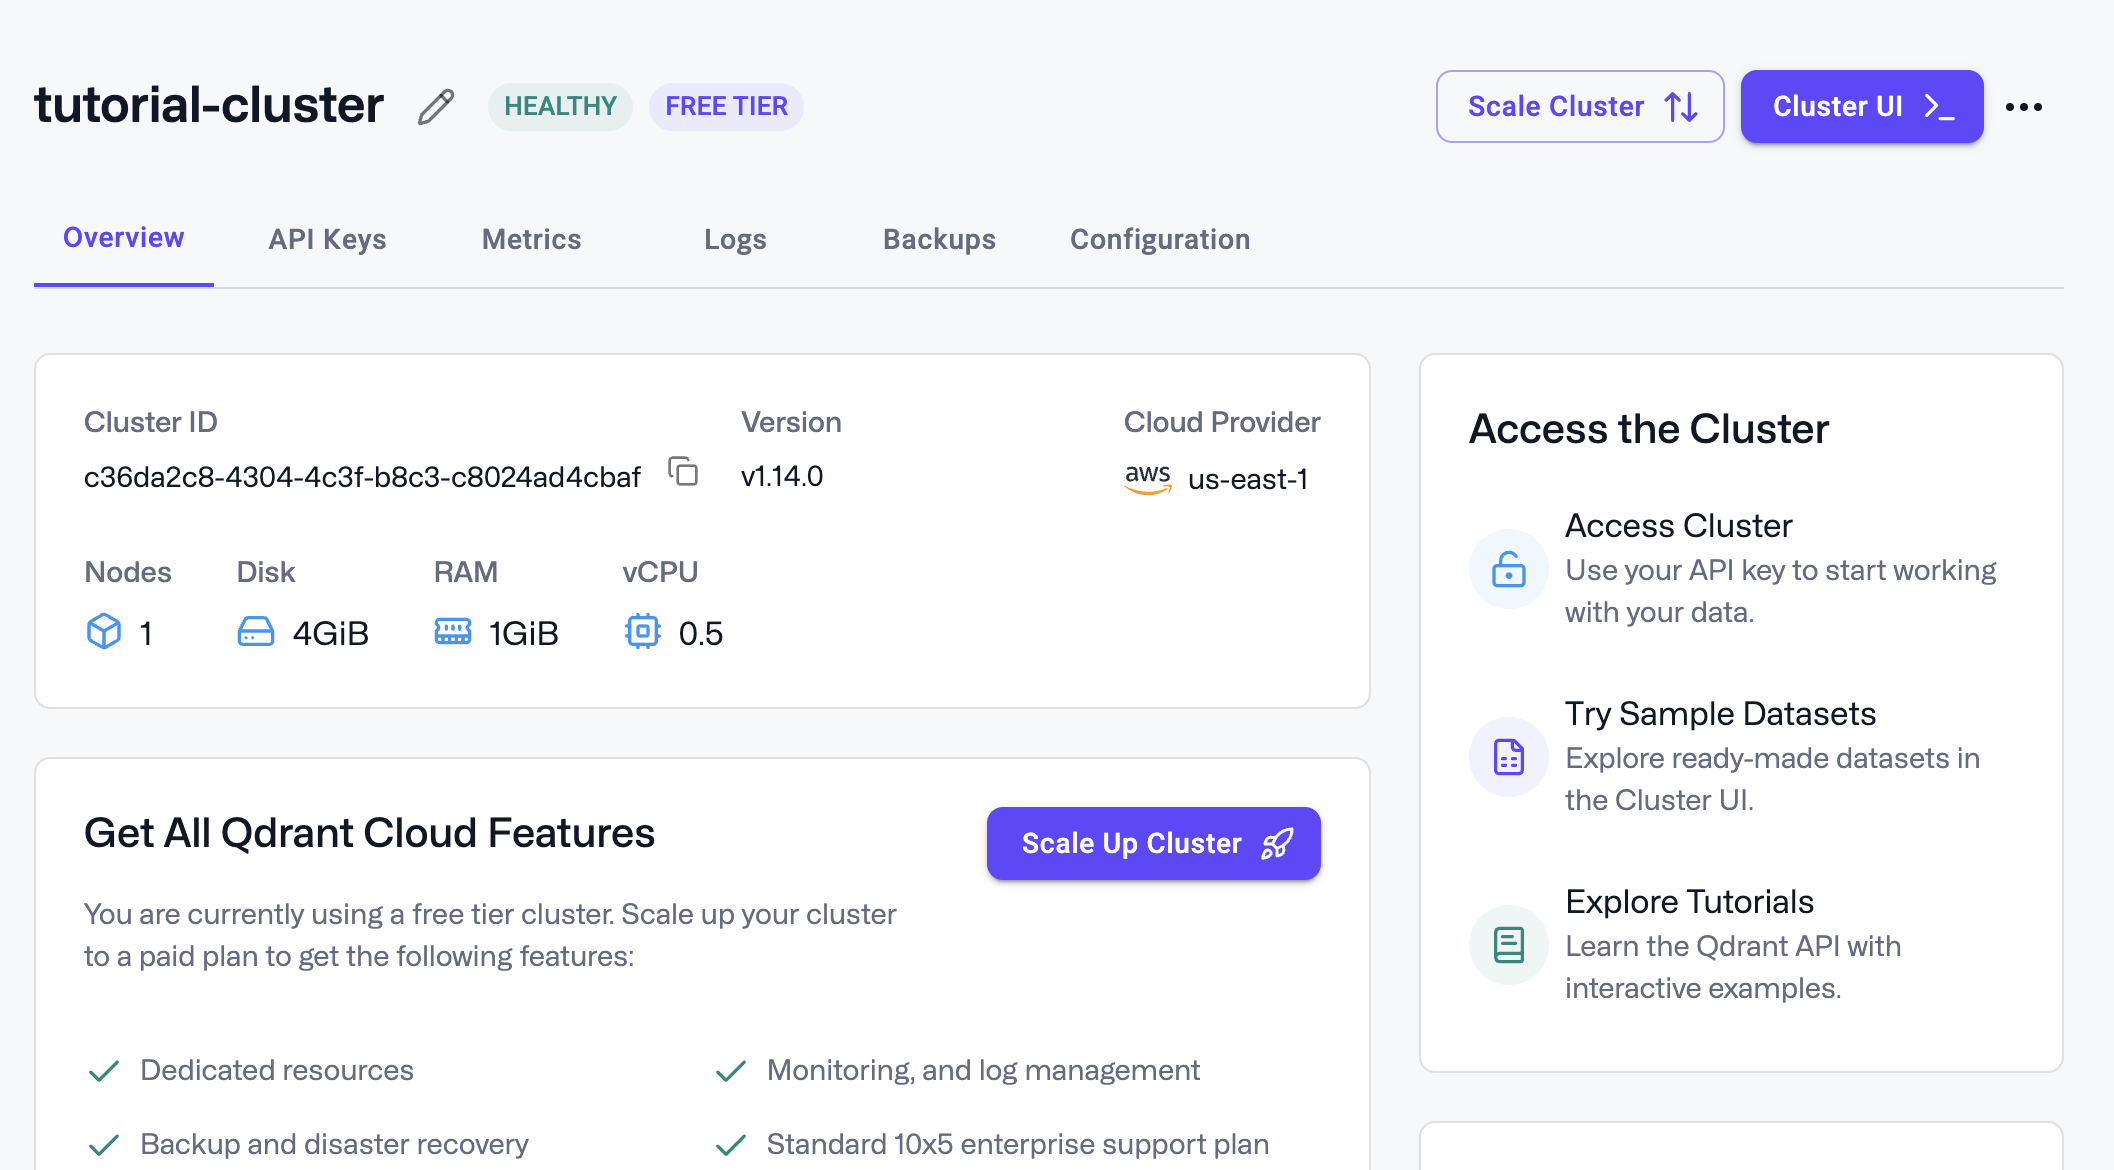
You should now see the new cluster in the Clusters menu.
Creating a Production-Ready Cluster
To create a production-ready cluster, you need to ensure the following:
High Availability
Your cluster should have at least 3 nodes, and each collection should have a replication factor of at least 2. This ensures that is one node fails, or is restarted due to maintenance, a version upgrade, or a scaling operation, that the cluster remains fully operational. You can ensure this by checking the High Availability checkbox when creating a cluster.
Multi AZ Deployment (Premium only)
Premium tier customers can choose to deploy their cluster across multiple availability zones. This ensures that if one availability zone goes down, the cluster remains operational. You can ensure this by checking the Multi AZ Deployment checkbox when creating a cluster. This can not be changed later. Multi AZ clusters need a minimum of 3 nodes, and can only scale to a multiple of 3 (e.g. 3, 6, 9, etc.) to ensure that nodes are evenly distributed across availability zones. Your collections should have a replication factor of at least 2 (better 3) to ensure that all data is available across availability zones, so the outage of one zone does not compromise the availability of the cluster. Shards will be automatically distributed across availability zones, so that each shard has a replica in another availability zone. Traffic is routed between zones automatically, so that the cluster remains available even if one zone goes down.
Disk Speed (AWS only)
We recommend the Balanced tier for disks >= 32 GiB, and the Performance tier for disks >= 256 GiB.
GPUs (AWS only)
If you have a write-heavy workload, you can add a GPU to each node to optimize indexing performance. See GPUs for Indexing for more information. All GPU settings will be configured automatically by the cloud platform.
Backup and Disaster Recovery
You should create a backup schedule for your cluster. This ensures that you can restore your data in case of a disaster. You can configure backups in the Backups section of the cluster detail page. See Backups for more information.
Collection Sharding
To allow your cluster to easily scale horizontally, you should configure at least twice as many shards per collection than the number of nodes in your cluster. You can configure the number of shards when creating a collection. See Sharding for more information.
If you did not configure enough shards in a collection, you can use the Resharding feature to change the number of shards in an existing collection.
For more information on how to create a production-ready cluster, see our Vector Search in Production article.
Deleting a Cluster
You can delete a Qdrant database cluster from the cluster’s detail page.

Next Steps
You will need to connect to your new Qdrant Cloud cluster. Follow Authentication to create one or more API keys.
You can also scale your cluster both horizontally and vertically. Read more in Cluster Scaling.
If a new Qdrant version becomes available, you can upgrade your cluster. See Cluster Upgrades.
For more information on creating and restoring backups of a cluster, see Backups.